An Easy Way to Make Your Non-Profit Website Bulletproof

A step by step guide to making sure your nonprofit website won't go down using Cloudflare.
Websites seem to always go down at the most inopportune times, don’t they? While it may be easy to chalk it up to Murphy’s law, a leading reason for website outages is web traffic overloading your server or host. Usually website visits are spread out across the course of the days, weeks, and months; so getting 10,000 or even 100,000 visits in a month is easily handled even by cheap basic hosting.
Then it happens. Your organization gets picked up by a major news outlet, a speaker at a conference tells everyone to sign up on your site, or your compelling message in your newsletter turns out to be really compelling. Now you have 10,000 visits happening within 5 minutes when it might usually take 5 days. Then your site is down, people keep reloading the page, compounding the problem, and finally they move on and the opportunity is missed.
Thankfully there are companies out there that have solved this problem for you, and with a little bit of effort you can even get this setup for free. A company we’ve worked with a lot and highly recommend is Cloudflare. They provide a web proxying service for your website. This essentially stores a copy of your website (refreshed regularly) on their many many servers located across the world. When a visitor, or lots of visitors, request a page on your website they actually get it from cloudflare quicker and more reliably than your web hosting provider could ever do.
Here are the basics to get this setup for your website:
- Create an account on cloudflare - https://dash.cloudflare.com/sign-up
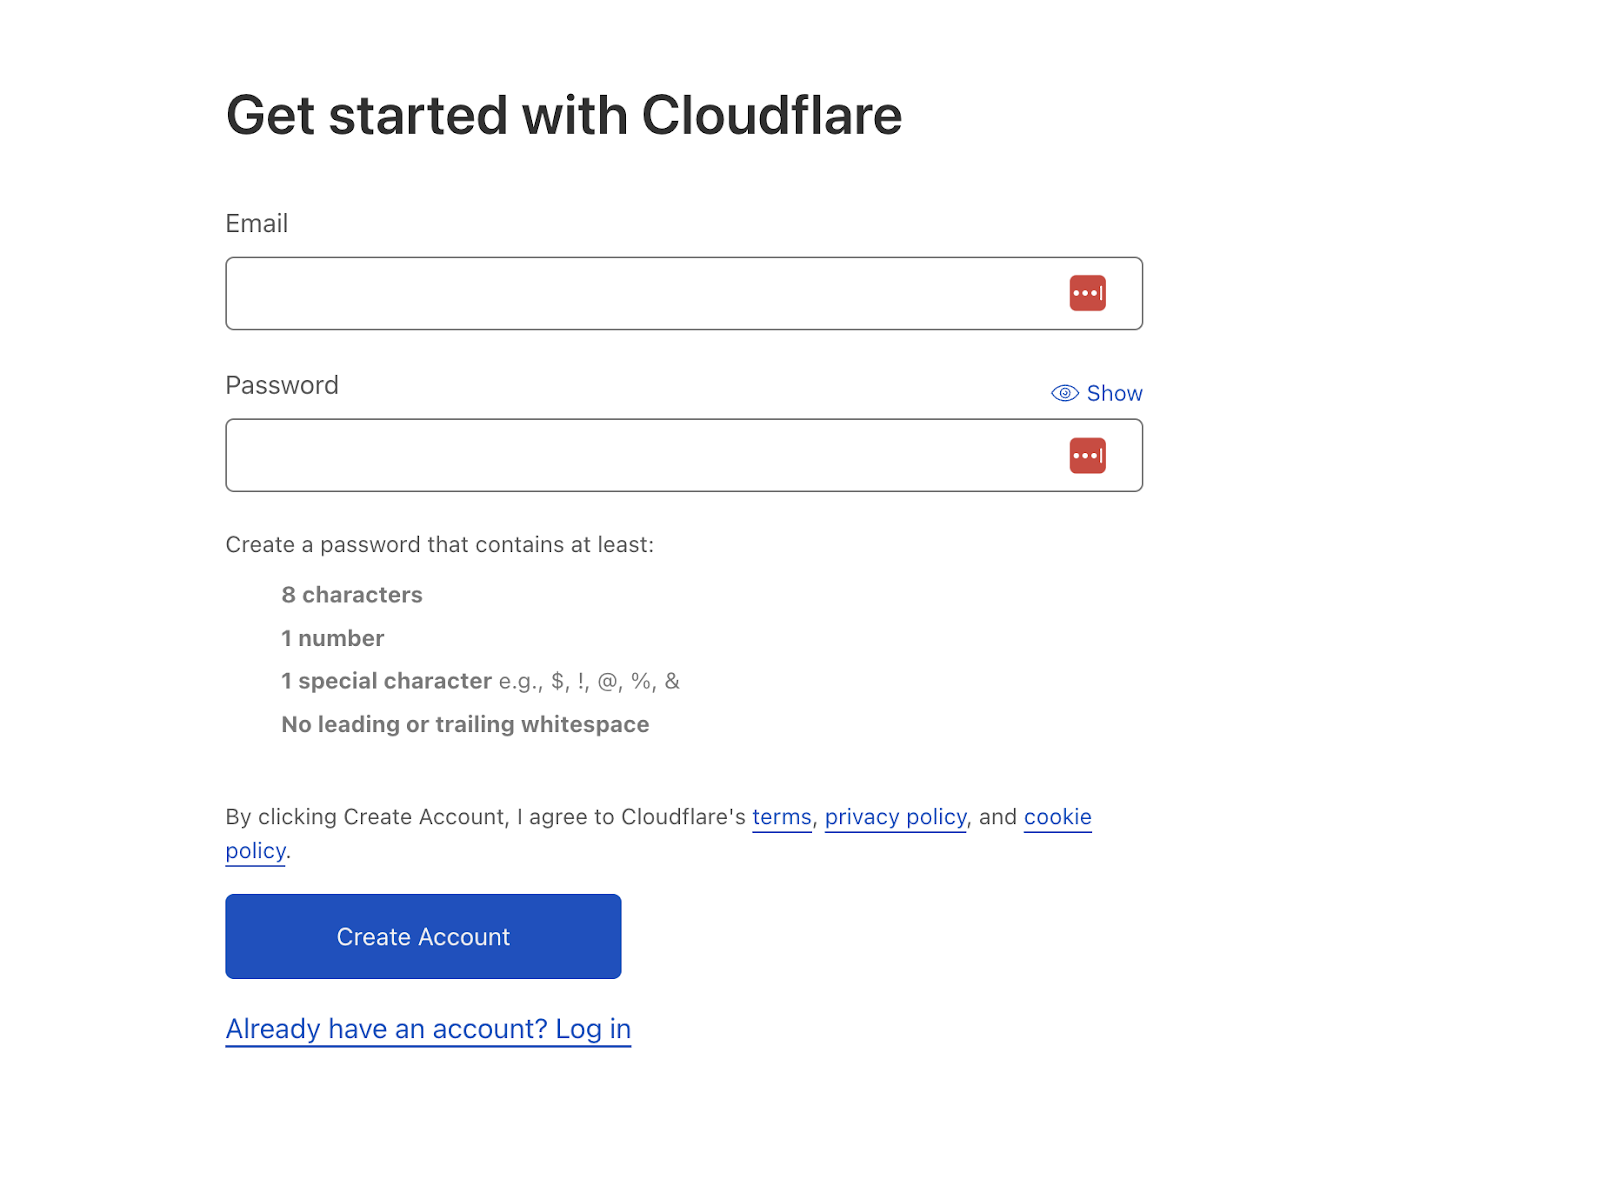
- Click Add a Site
- Enter your website domain name (no www on the front)

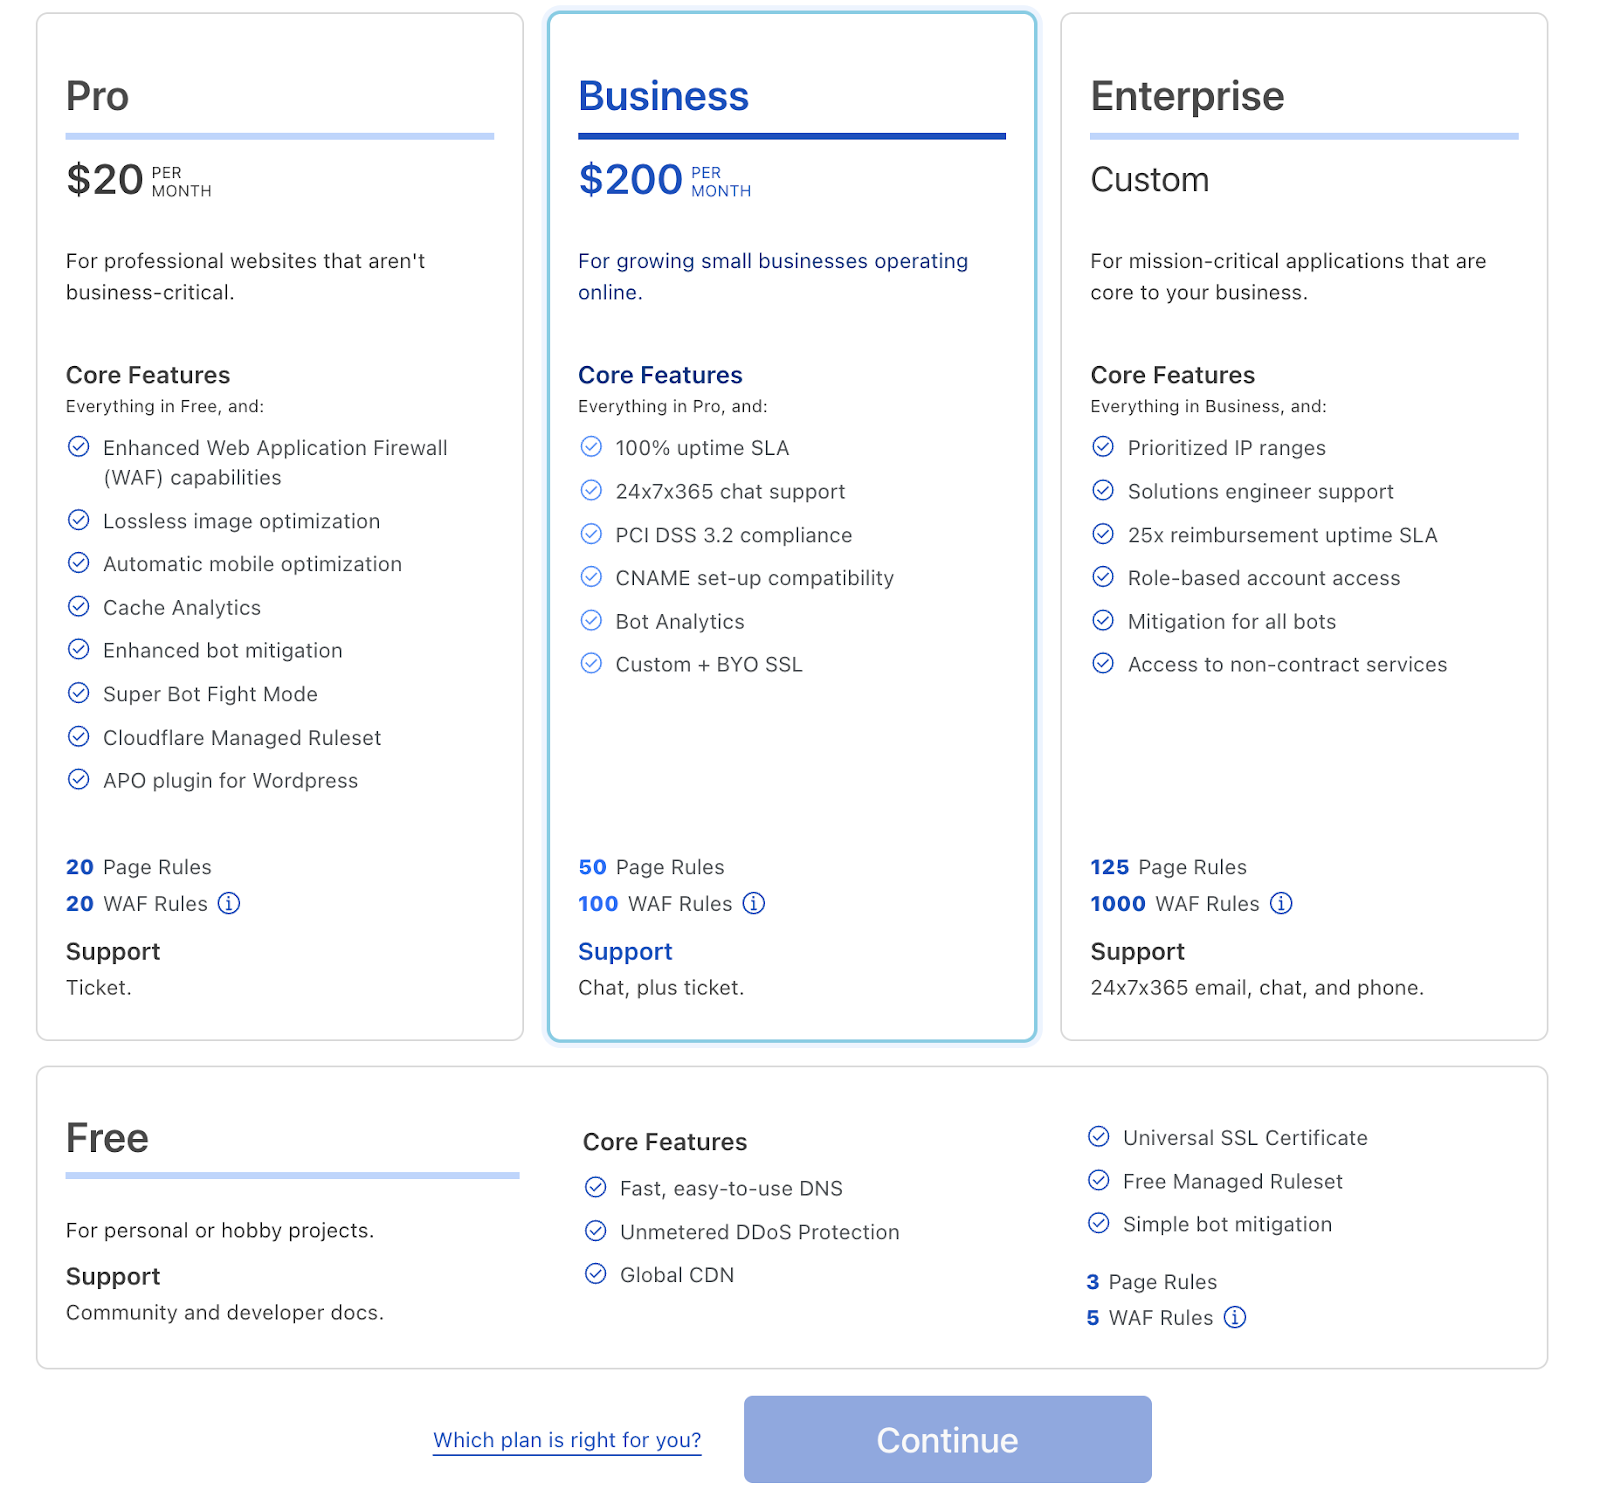
- Pick your plan, we recommend Pro, but free is great if you’re on a budget
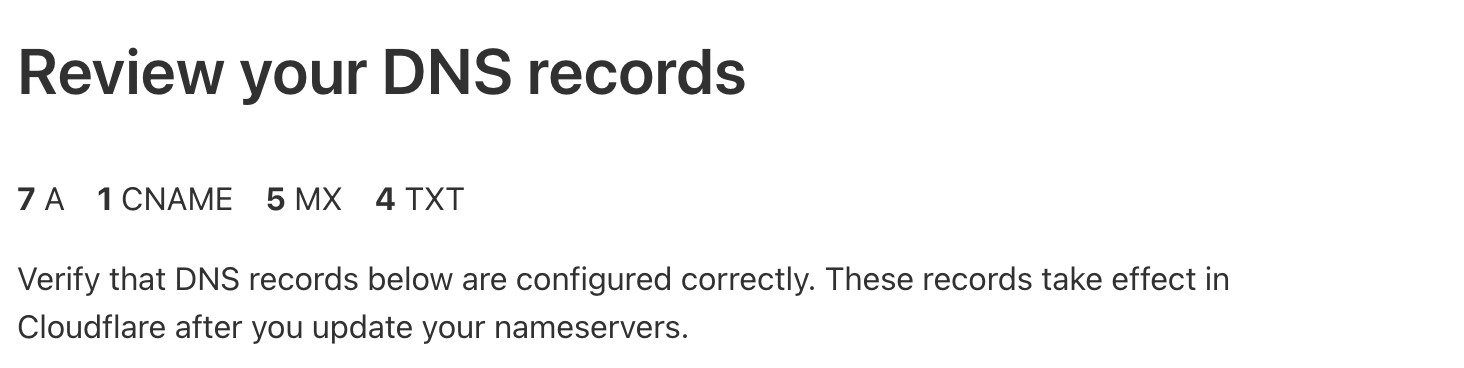
- Review your DNS records. You should see a list of domain names and IP addresses that are automatically imported from your current dns provider. You’ll want to log in to your current DNS provider (usually the company you’ve bought your domain from) and make sure the records match.
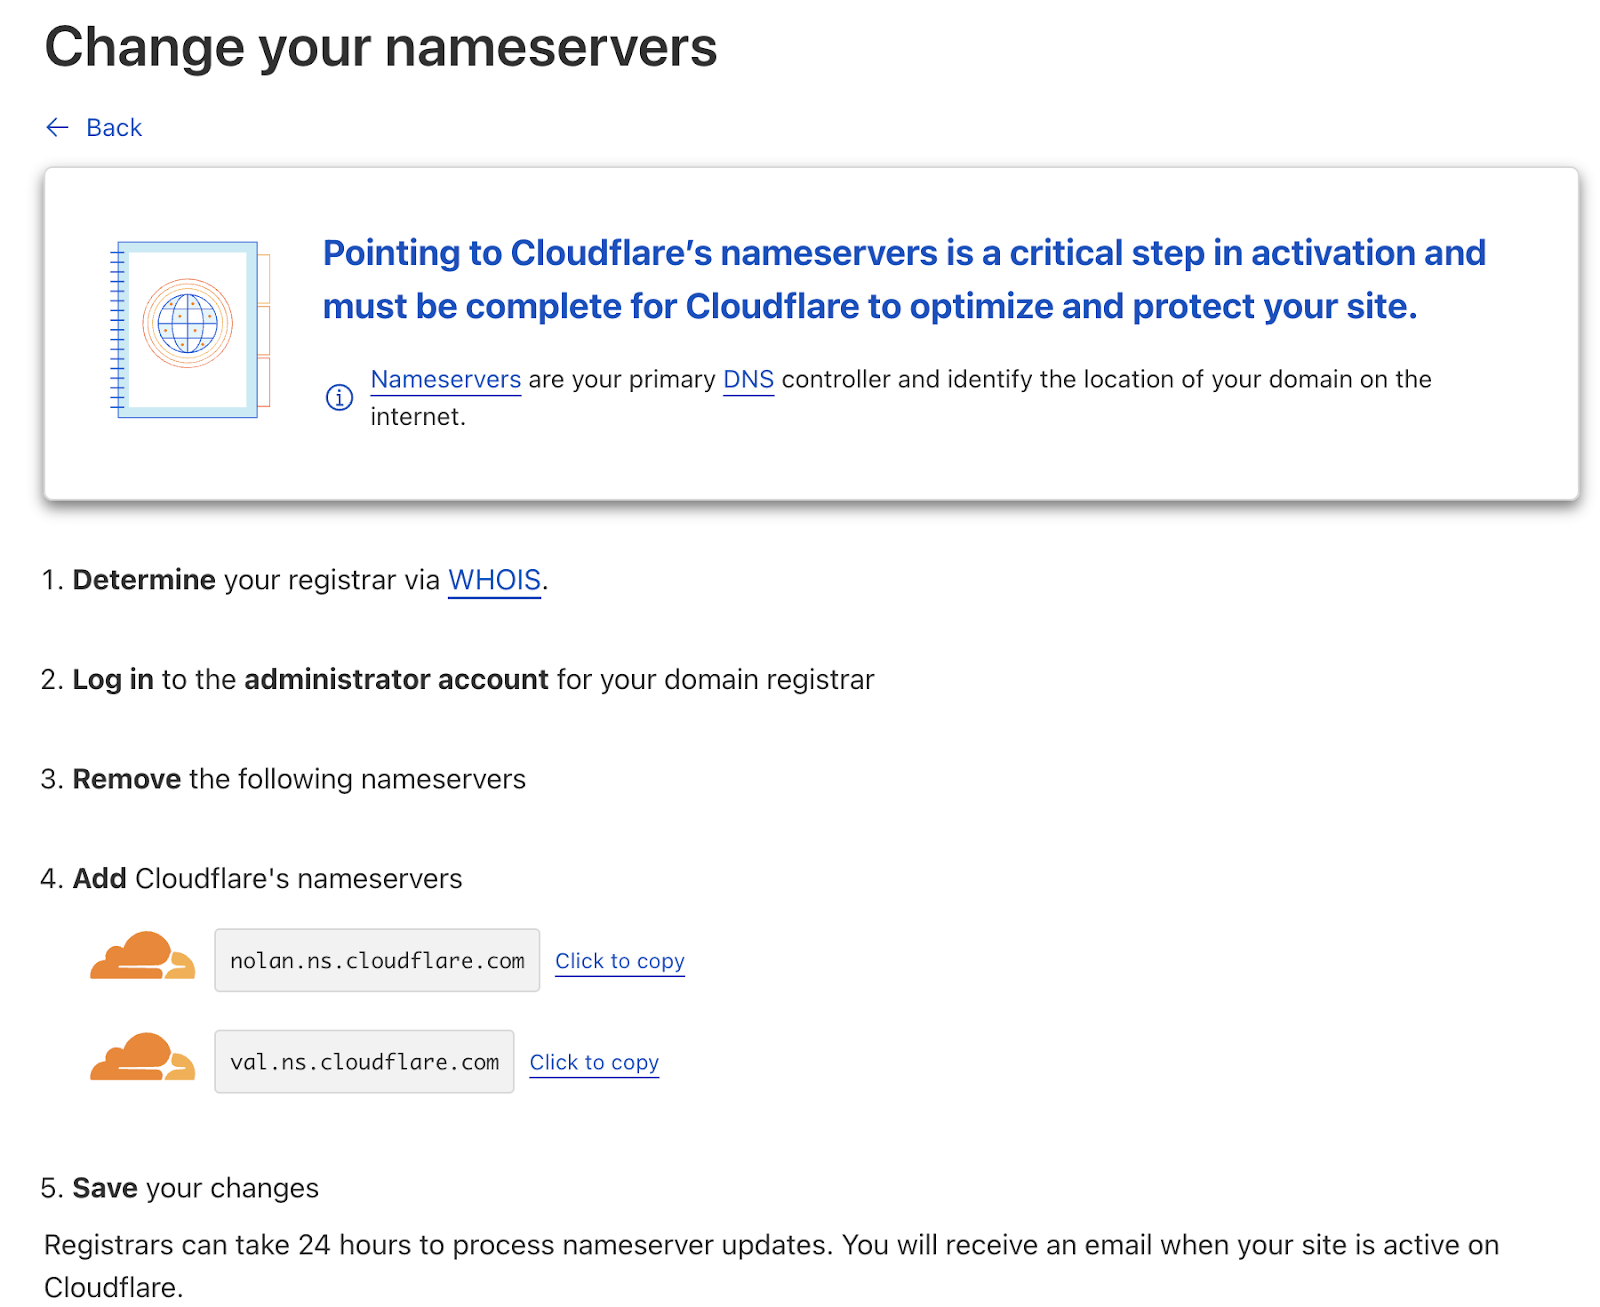
- While in your DNS account you’ll want to change your name servers to match what Cloudflare recommends on the last step
If this is a little more complicated than you’re comfortable with, no problem! You can reach out to us here at Code Koalas and we’ll help you get it taken care of. And if you sign up for our Website and Technology Audit, we’ll set it up for you for free!

Want to talk about how we can work together?
Ryan can help